As countries around the world pivot to more sustainable forms of energy production, solar power is taking off.
A recent report from the International Energy Agency (IEA) found that a worldwide renewable energy surge will be driven by solar. It’s set to make the biggest impact because costs are already below retail electricity prices in most countries and are continuing to fall.
The price of solar power is expected to decline by more than a third by 2024.
The IEA has predicted that by then, the world’s solar capacity will have grown by a further 600GW. To put that into perspective, that figure is almost double the current electricity capacity of Japan.
With the solar market set for significant growth, the demand for services around inspection and maintenance is also expected to rise.
Here’s a quick overview of how solar panel inspections are carried out and how drones can be used as part of the process.
Solar panels are photovoltaic systems. They capture energy from the sun and transform it into electricity. Each panel uses solar modules. Each module is made up of solar cells, which generate electrical power.
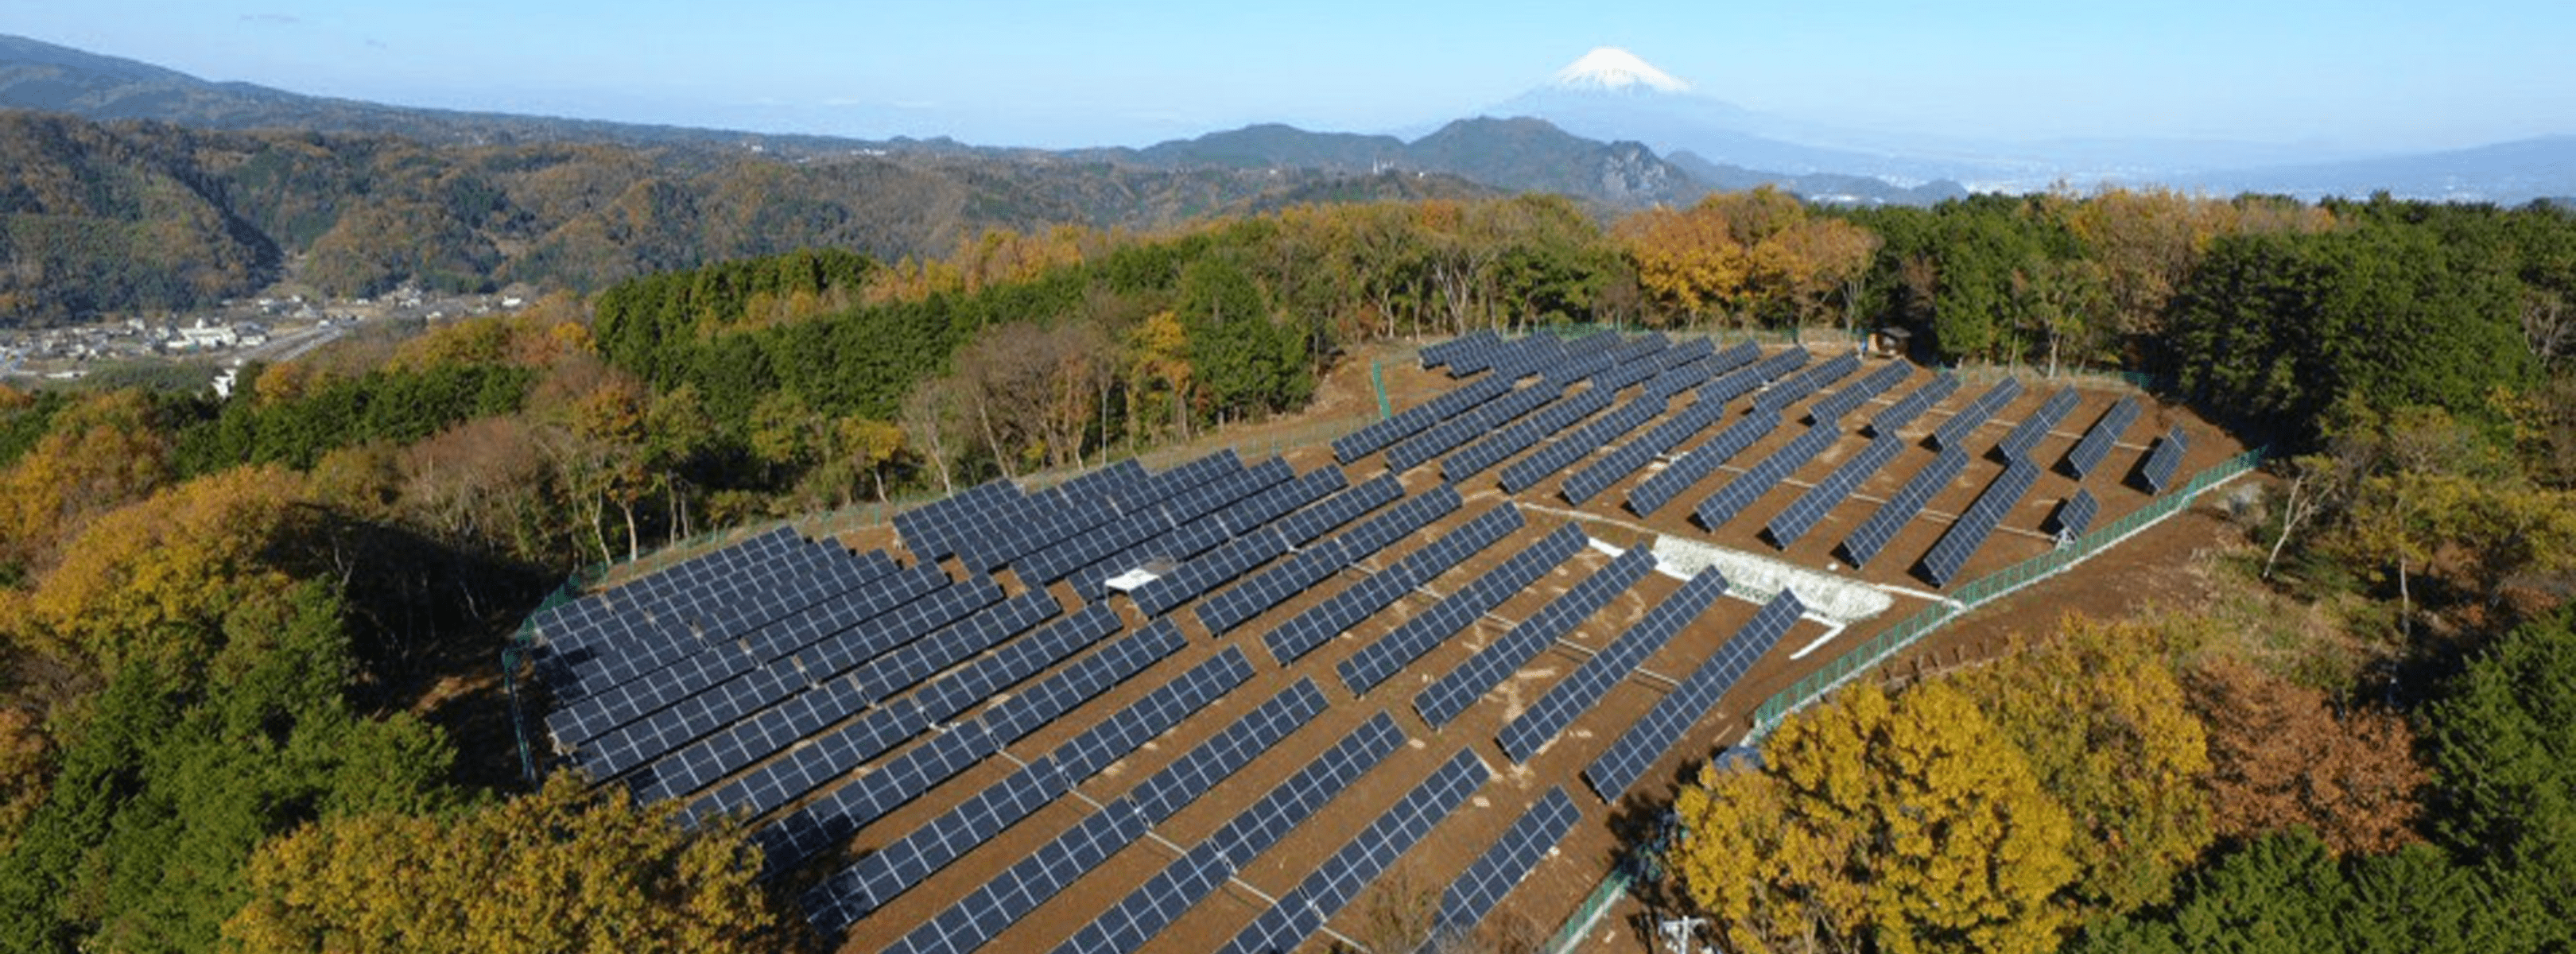
A solar PV system is usually mounted on a rooftop or on the ground. The way it’s mounted can be fixed or flexible, depending on whether you want to use a solar tracker to follow the sun across the sky and tilt the angle of the panel accordingly.
As you might expect, every component in the system needs to be in good working order to generate the maximum possible energy. That’s where drones come into the picture.
How Solar Inspections Work
Inspecting solar panels can be done the easy way or the hard way. Maintenance crews can manually inspect panels or be deployed to areas of concern.
On an industrial solar farm, it goes without saying that this is an enormous task. Walking around a large area with a handheld camera is a long and tedious task. It can take teams days to complete a full sweep.
With rooftop panels, space restrictions can make it difficult for crews to gather close-up data from directly above. Walking the perimeter and scanning panels at an angle makes it more difficult to detect anomalies and increases the chance that reflections will skew the results of an inspection.
So the best way to inspect solar farms is from above. Drones can be used with both thermal cameras and RGB (visible light) cameras, detecting debris with the latter and technical issues with the former.
It’s important to bear in mind that both types of imaging have a role to play in keeping solar farms operating optimally.
Standard cameras or thermal imaging?
RGB images can flag up common problems quickly, from nesting birds and mud to debris after a storm.
Looking at the same spots through a thermal lens might lead to false positives of electrical failures - when in reality a cleaning is all that’s needed.
Having said that, there are issues that are best detected via a thermal inspection, including module faults, wiring issues and fuse failures.
Broadly, a combination of both RGB and thermal effectively combine qualitative and quantitative data.
A drone with a thermal camera can gather radiometric data to evaluate the impact of any defect and quantify how significant a problem is. RGB data is more useful for determining the nature of the problem to better inform the next steps.
Tips for drone solar inspections
There are a few things to bear in mind when planning and executing a thermal inspection of a solar farm with a drone.
Consider your altitude
The first is that altitude matters. As part of your flight plan, your preferred height should be in line with the kind of data you’re aiming to gather.
The higher you fly, the less detail the drone will be able to capture. For a radiometric thermal map of a whole site, 300-400ft is fine. You will be able to map the site and spot if an entire string of panels is offline.
200ft is more realistic if you want to capture detail and look for defects at the level of a string of panels or even an individual panel. You’ll need to fly no higher than 120ft if you want to detect issues with individual diodes or cells.
These altitude suggestions are rough. The detail you can capture will of course depend on the thermal camera you are using.
Avoid the glare
As with any mapping mission, it’s best to carry out your inspection on a sunny day. Even more so when dealing with solar panels: the sun’s heat will accentuate the difference between defective (such as hotspots in solar panels) and working components, which makes life easier for inspection crews.
Properly functioning modules don’t show up to be as hot as malfunctioning modules, which heat up rather than converting the solar energy into electricity. Solar panel hotspots, these areas of elevated temperature, can be seen right away with thermal sensors.
But watch out. Flying while the sun is high in the sky increases the risk of glare. Time your flight wrong and your images will whiteout as the panels reflect the light directly towards the drone. Fly in the morning or late afternoon to avoid this.
Find out more about how drones are supporting the solar industry here.